
A single hot upstairs bedroom, garage office, sunroom, or retail space can make the rest of a building feel like the HVAC system is failing. Often, the better answer is not replacing a working central system. A properly planned ductless mini split installation can deliver targeted cooling and heating where it is needed most, without adding or extending bulky ductwork.
Mini splits are efficient, flexible systems, but the installation details determine whether they deliver the comfort and energy savings homeowners and business owners expect. Equipment size, indoor-unit placement, electrical capacity, drainage, and workmanship all matter. Here is what a professional installation should involve and how to make the right decision for your property.
When a Ductless System Makes Sense
A ductless mini split uses an outdoor condenser connected to one or more indoor air handlers through a small wall opening. Each indoor unit has its own controls, allowing different rooms or zones to be conditioned independently.
That setup is especially useful for spaces that central ductwork does not serve well. Common examples include additions, converted garages, workshops, attic rooms, guest suites, server rooms, and older homes where adding ducts would require major construction. In commercial settings, mini splits can support individual offices, small retail areas, equipment rooms, or tenant spaces with different comfort needs.
They are not automatically the right answer for every building. If an existing central system has widespread performance issues, undersized ductwork, poor insulation, or aging equipment, a mini split may only treat the symptom in one room. A qualified HVAC assessment should identify why the space is uncomfortable before selecting equipment.
Proper Sizing Comes Before Equipment Selection
The most common mini split mistake is choosing capacity based only on square footage. A room’s dimensions are part of the calculation, but they are far from the whole story. Ceiling height, insulation, windows, sun exposure, room use, occupancy, appliances, and the local climate all affect the actual cooling and heating load.
In the Houston-area climate, west-facing glass, uninsulated garage walls, and high attic temperatures can create a much larger load than a basic square-foot estimate suggests. A professional should evaluate the room and recommend capacity based on conditions, not a quick rule of thumb.
Oversizing can be just as problematic as undersizing. An oversized system may cool the air quickly but cycle too often or fail to remove enough humidity. That can leave a room feeling cool and clammy. An undersized unit may run continuously during peak heat and still struggle to maintain the set temperature. The goal is steady, efficient operation and reliable humidity control.
Single-Zone vs. Multi-Zone Systems
A single-zone system pairs one outdoor condenser with one indoor unit. It is often a practical solution for one problem space, such as a new home office or enclosed patio.
A multi-zone system connects several indoor units to one outdoor condenser. It can reduce the number of outdoor units needed and provides independent comfort control in multiple rooms. However, multi-zone equipment requires careful design because the outdoor unit must be matched to the connected indoor capacity and expected operating demand. It may not be the most cost-effective option when only one area needs help.
Placement Affects Comfort, Appearance, and Service Access
Indoor heads are commonly wall-mounted, but ceiling cassettes, floor-mounted units, and concealed ducted options are also available. The best style depends on the room layout, construction, and how visible the equipment can be.
The indoor unit needs clear airflow across the room. Mounting it directly above a bed, desk, television, or shelf may create uncomfortable drafts or block circulation. It should also remain accessible for filter cleaning and future service. A technician will consider wall structure, refrigerant-line routing, condensate drainage, and the location of the outdoor unit before finalizing placement.
Outdoor condensers need adequate clearance for airflow and service. They should sit on a stable pad or approved wall bracket, away from areas where leaves, standing water, or landscaping can obstruct the coil. Placement also matters for noise, appearance, and local code requirements. A condenser hidden behind dense shrubs may look better at first, but restricted airflow can reduce performance and shorten equipment life.
What Happens During Professional Installation
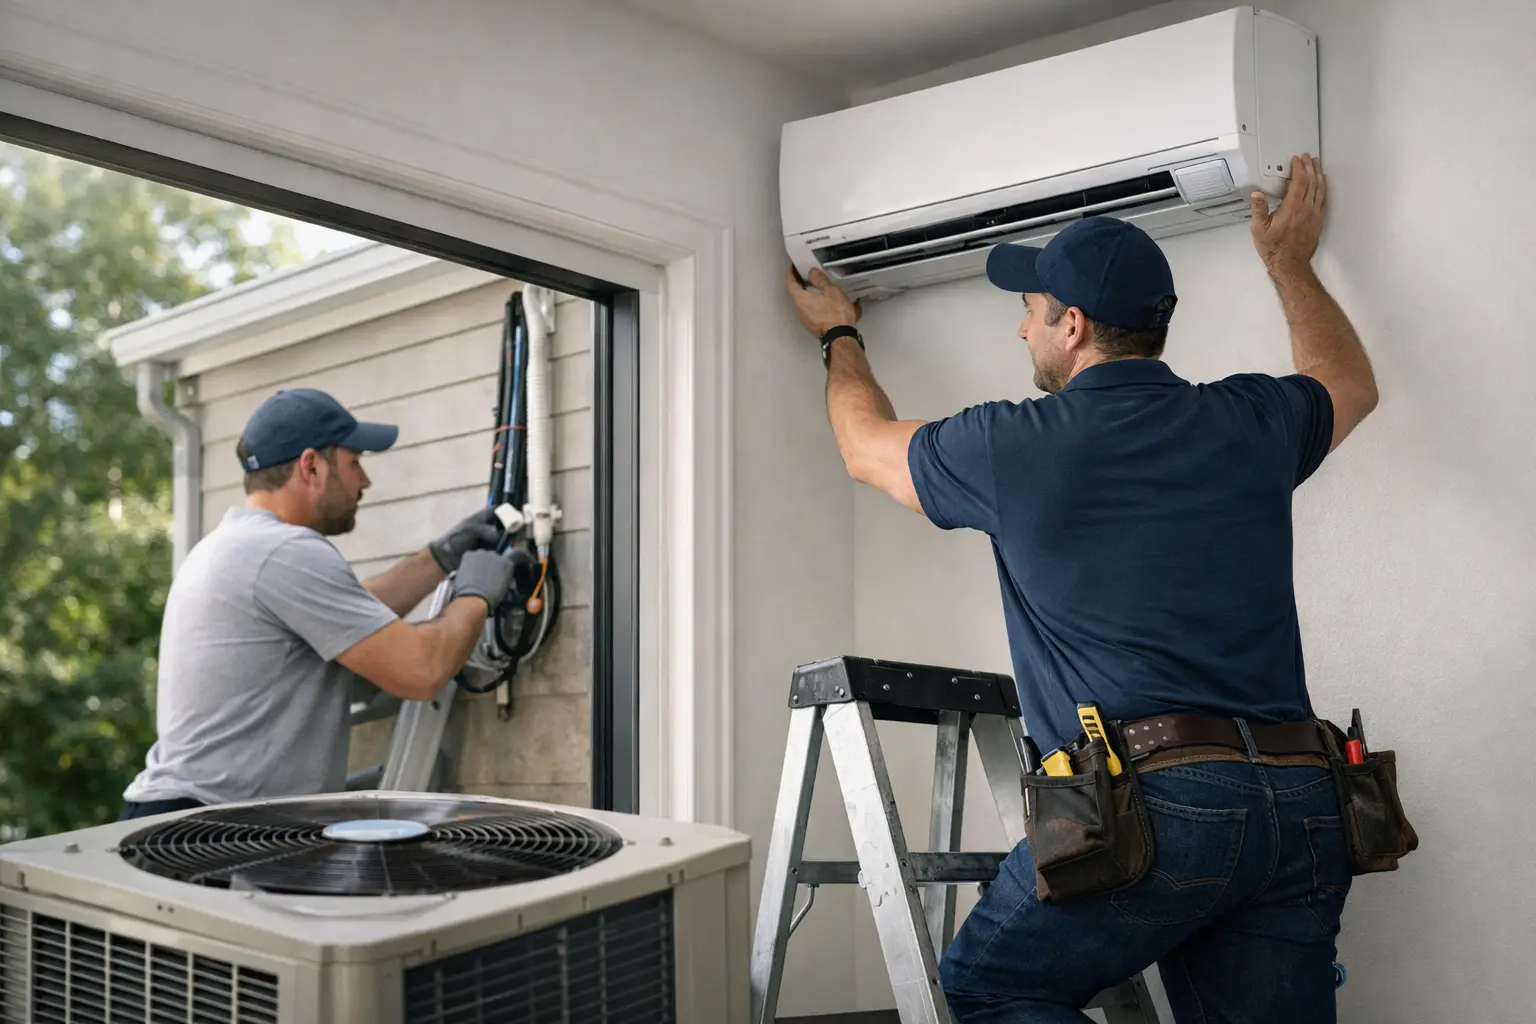
A typical ductless mini split installation begins with confirming the design, reviewing the equipment, and protecting the work area. The technician mounts the indoor unit, installs the outdoor condenser, and drills a carefully located opening for the line set, control wiring, and condensate drain.
The refrigerant lines are insulated, secured, and routed between the indoor and outdoor units. The electrical connection is installed according to the equipment requirements and applicable codes, usually including a properly sized dedicated circuit and outdoor disconnect. Drainage is equally important. Condensate must flow reliably away from the indoor unit, or a correctly installed condensate pump may be needed where gravity drainage is not possible.
Before refrigerant is released into the system, the line set must be pressure-tested for leaks and evacuated with a vacuum pump. This step removes air and moisture that could damage the compressor or affect performance. The system is then started, tested in the appropriate modes, checked for correct temperatures and airflow, and reviewed with the customer.
A quality installation is not just getting the unit to turn on. It includes confirming safe electrical work, correct drainage, leak-free refrigerant connections, secure mounting, clean line routing, and dependable operation under load.
Why DIY Installation Carries Real Risk
Some mini split systems are marketed as DIY-friendly, but homeowners should understand where the risk begins. Electrical work, refrigerant handling, vacuum procedures, pressure testing, drain installation, and code compliance are not minor details. A unit can appear to run while hidden problems slowly reduce efficiency or cause damage.
Improper refrigerant-line connections can leak. Poor evacuation can introduce moisture into the system. Incorrect wire sizing or disconnect installation can create a safety issue. A drain line without the proper slope can lead to water damage, mold concerns, or repeated shutdowns. Manufacturer warranty coverage may also be limited when the system is not installed by a qualified professional.
For businesses, the stakes are higher. An improperly installed unit can affect tenant comfort, interrupt operations, and create maintenance costs that outweigh any initial savings. Licensed and insured HVAC service provides accountability from system design through startup and future maintenance.
Cost Factors to Discuss Before Work Begins
Mini split pricing varies because every installation has different requirements. The number of zones, equipment efficiency rating, indoor-unit style, electrical upgrades, line-set length, wall or roof access, drain routing, and mounting needs all influence the final cost.
A straightforward single-zone installation in an accessible room is generally less involved than a multi-zone setup serving several floors or rooms. A concealed indoor unit may provide a cleaner appearance, but it often requires more construction and labor than a wall-mounted head. High-efficiency models can cost more upfront while offering lower operating costs over time.
Ask for transparent pricing that identifies the equipment, scope of work, electrical needs, drainage plan, warranty details, and any permits required. The lowest estimate is not always the lowest long-term cost if it leaves out commissioning, proper protection for line sets, or essential electrical work.
Maintenance Protects Efficiency and Indoor Air Quality
Mini splits are known for efficiency, but they still need regular care. The washable filters in indoor units should be cleaned on the schedule recommended for the space, especially in homes with pets, construction dust, or frequent use. A clogged filter restricts airflow and can reduce cooling performance.
Professional maintenance should include cleaning indoor coils and blower components as needed, checking the outdoor coil, inspecting electrical connections, verifying drainage, and testing system performance. Because mini splits move air directly within the room, neglected indoor components can collect dust and buildup that affects airflow and air quality.
In Magnolia, The Woodlands, and surrounding communities, preparing cooling equipment before the hottest part of the year helps prevent avoidable comfort problems. For commercial properties, scheduled maintenance also helps protect operating hours and tenant satisfaction.
Choose Installation for the Space, Not the Sales Pitch
The right mini split is the one that solves a defined comfort problem without creating a new one. That may mean a single-zone system for a difficult room, a multi-zone design for an addition, or a broader HVAC recommendation when the entire property needs attention.
BluePeak 360 can evaluate the space, explain the practical options, and provide clear recommendations before work begins. When the temperature in one room is making the whole property harder to live or work in, a professional assessment is the fastest path to a solution built for lasting comfort.